This article is for you if someone has invited you into their Invytly project: a planner who wants you as co-planner, a vendor who needs the guest numbers, or a couple who wants to follow their guests' answers. You don't need to set anything up; you just need an Invytly account and the invitation link.
If you're the one sending invitations, see Adding collaborators and sharing the project with the couple instead.
The invitation email
The invitation arrives by email from Invytly. It tells you who invited you and the name of the project, and it contains a link to join.
A few things to know about the link:
- It works once. As soon as someone joins through it, the invitation is used up.
- It isn't tied to your email address. Whoever opens it while signed in joins the project, so don't forward it.
- Nothing else can replace it. There's no project code to type in the app: the link in the email is the only way in.
If you can't find the email, check your spam or promotions folder, then ask the person who invited you to confirm the address they used.
Open the link
What happens next depends on whether you're already signed in to Invytly.
If you're not signed in
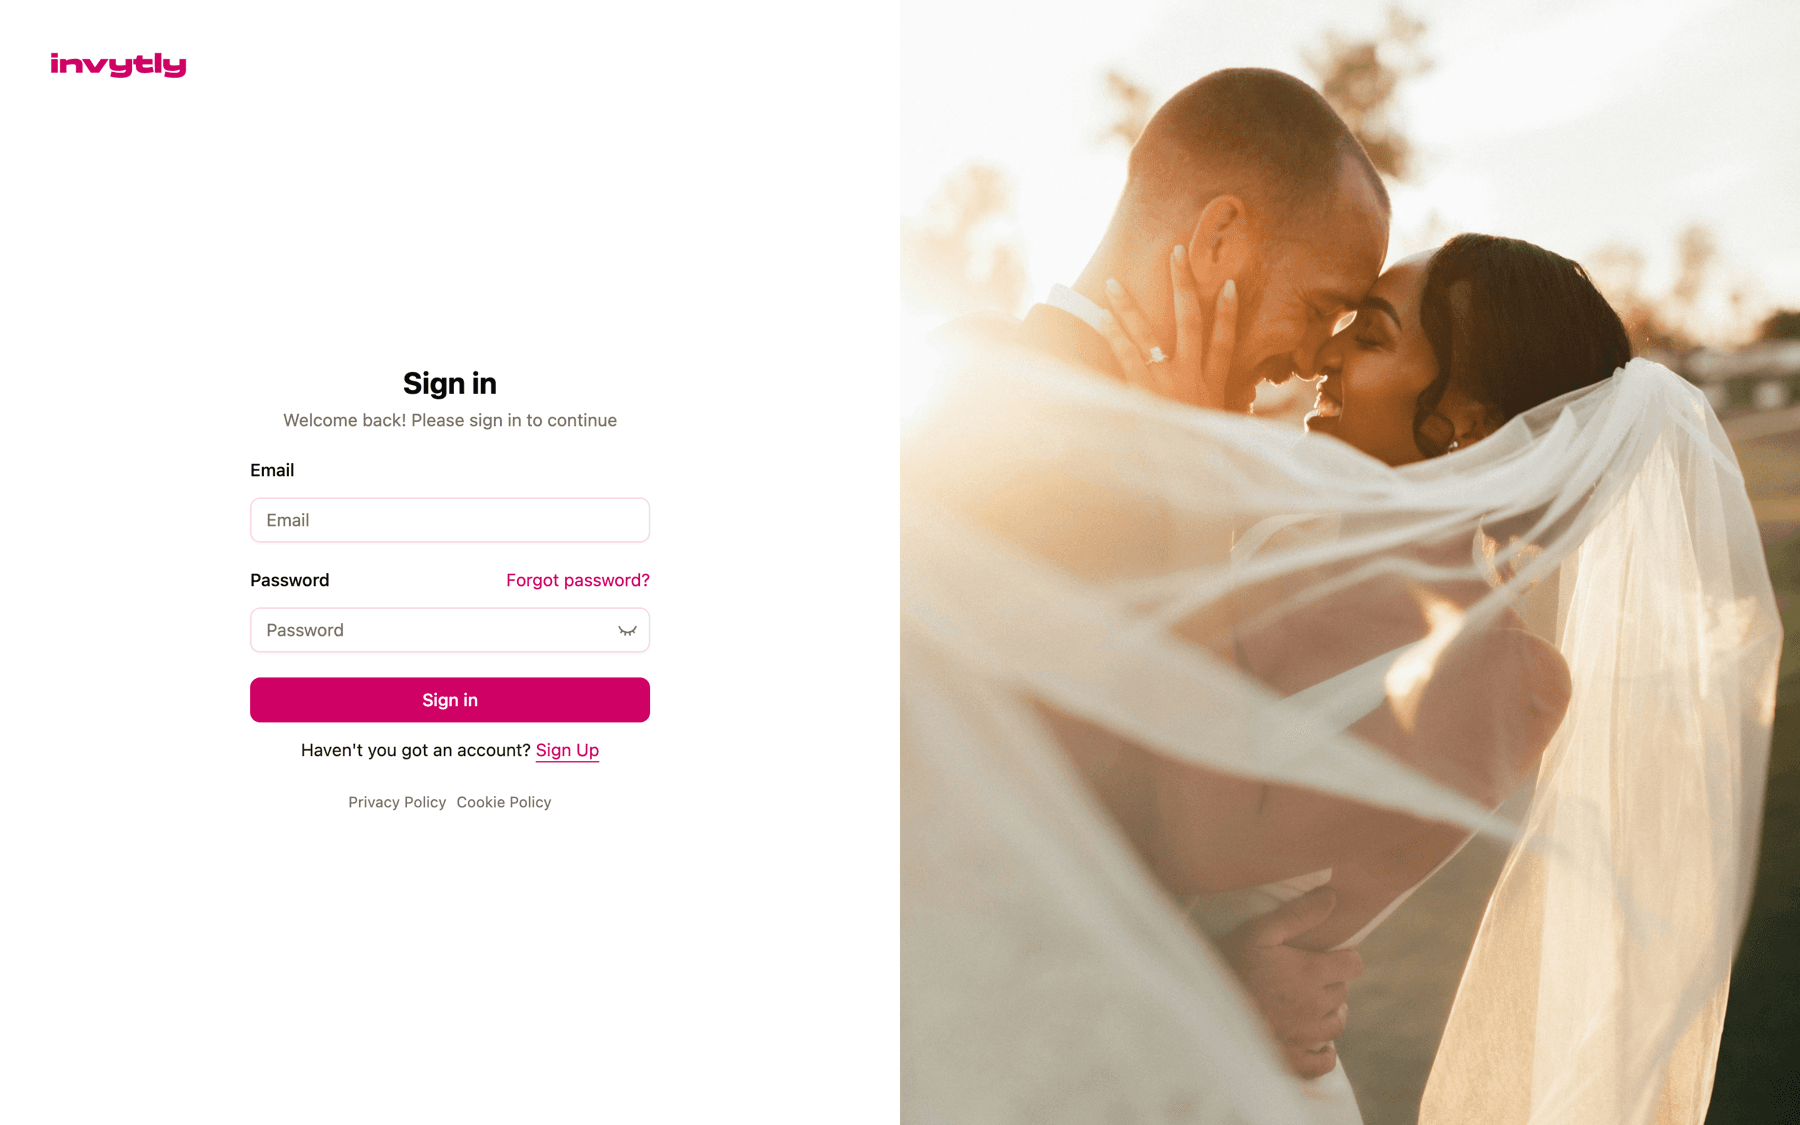
The link opens the Sign in page. Enter your Email and Password and click Sign in. If you've forgotten your password, use Forgot password? on the same page.
If you don't have an account yet
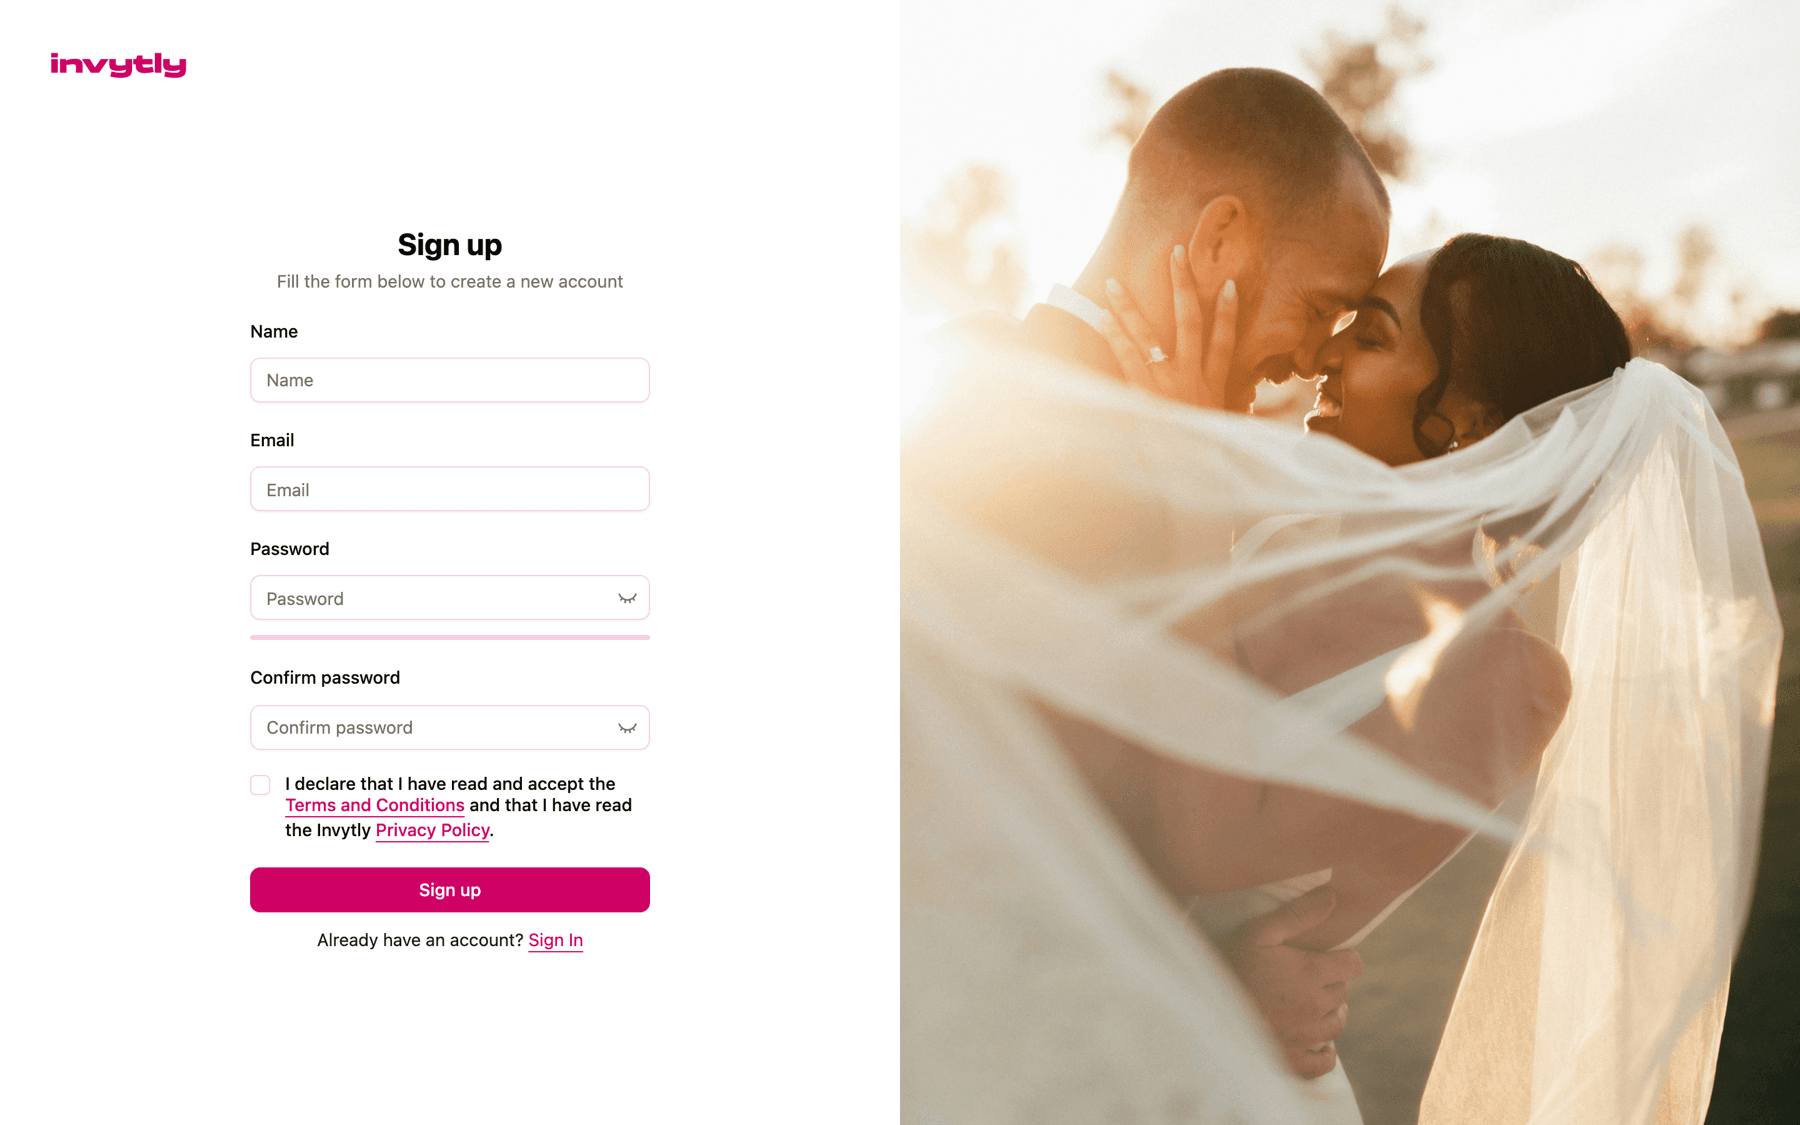
On the Sign in page, click Sign Up at the bottom ("Haven't you got an account? Sign Up") and fill in the form:
- Your Name: it's how you'll appear to the other members of the project.
- Your Email. Use the address the invitation was sent to, so the person who invited you recognises you in their members list.
- A Password of at least 8 characters, with an uppercase letter, a lowercase letter, a number and a special character (such as @, !, # or ?). The bar under the field shows how strong it is.
- Confirm password, typing it again.
- Tick the box to accept the Terms and Conditions and confirm you've read the Privacy Policy.
- Click Sign up.
Invytly also sends you an email to verify your address. Either way, you don't have to open the invitation link again: after signing in or signing up, Invytly takes you straight back to it.
If you're already signed in
The link lets you in right away, with the account you're signed in with. If you have more than one account (a personal one and a work one, for example), check which one you're using before opening the link. To switch account, click your name at the bottom of the sidebar, choose Sign out, then open the link again.
Once you're in
You'll see "Preparing your access to the project…" for a moment, and then the project's Dashboard. From now on, the project is in your list and you can open it whenever you sign in.
What you can see and do depends on the role the person who invited you chose:
| Role | Who it's for | What you'll find |
|---|---|---|
| Admin | Co-planners and assistants | The whole project: guests, questions, communications, customisations, settings and members. |
| Vendor | Caterers, security companies, photographers | The Dashboard with the guests' answers, the answer downloads and the documents guests uploaded. |
| Viewer | The couple, and anyone who just needs to follow along | The Dashboard with the guests' answers and the answer downloads. Nothing can be changed. |
If you're a Vendor or a Viewer, the sidebar shows only the Dashboard; the other pages simply aren't there for you. Under the project name you'll also find Copy RSVP link, handy if you need to share the RSVP page, and at the bottom the Help Center and your notifications. Notifications about new RSVPs are sent to Admins only.
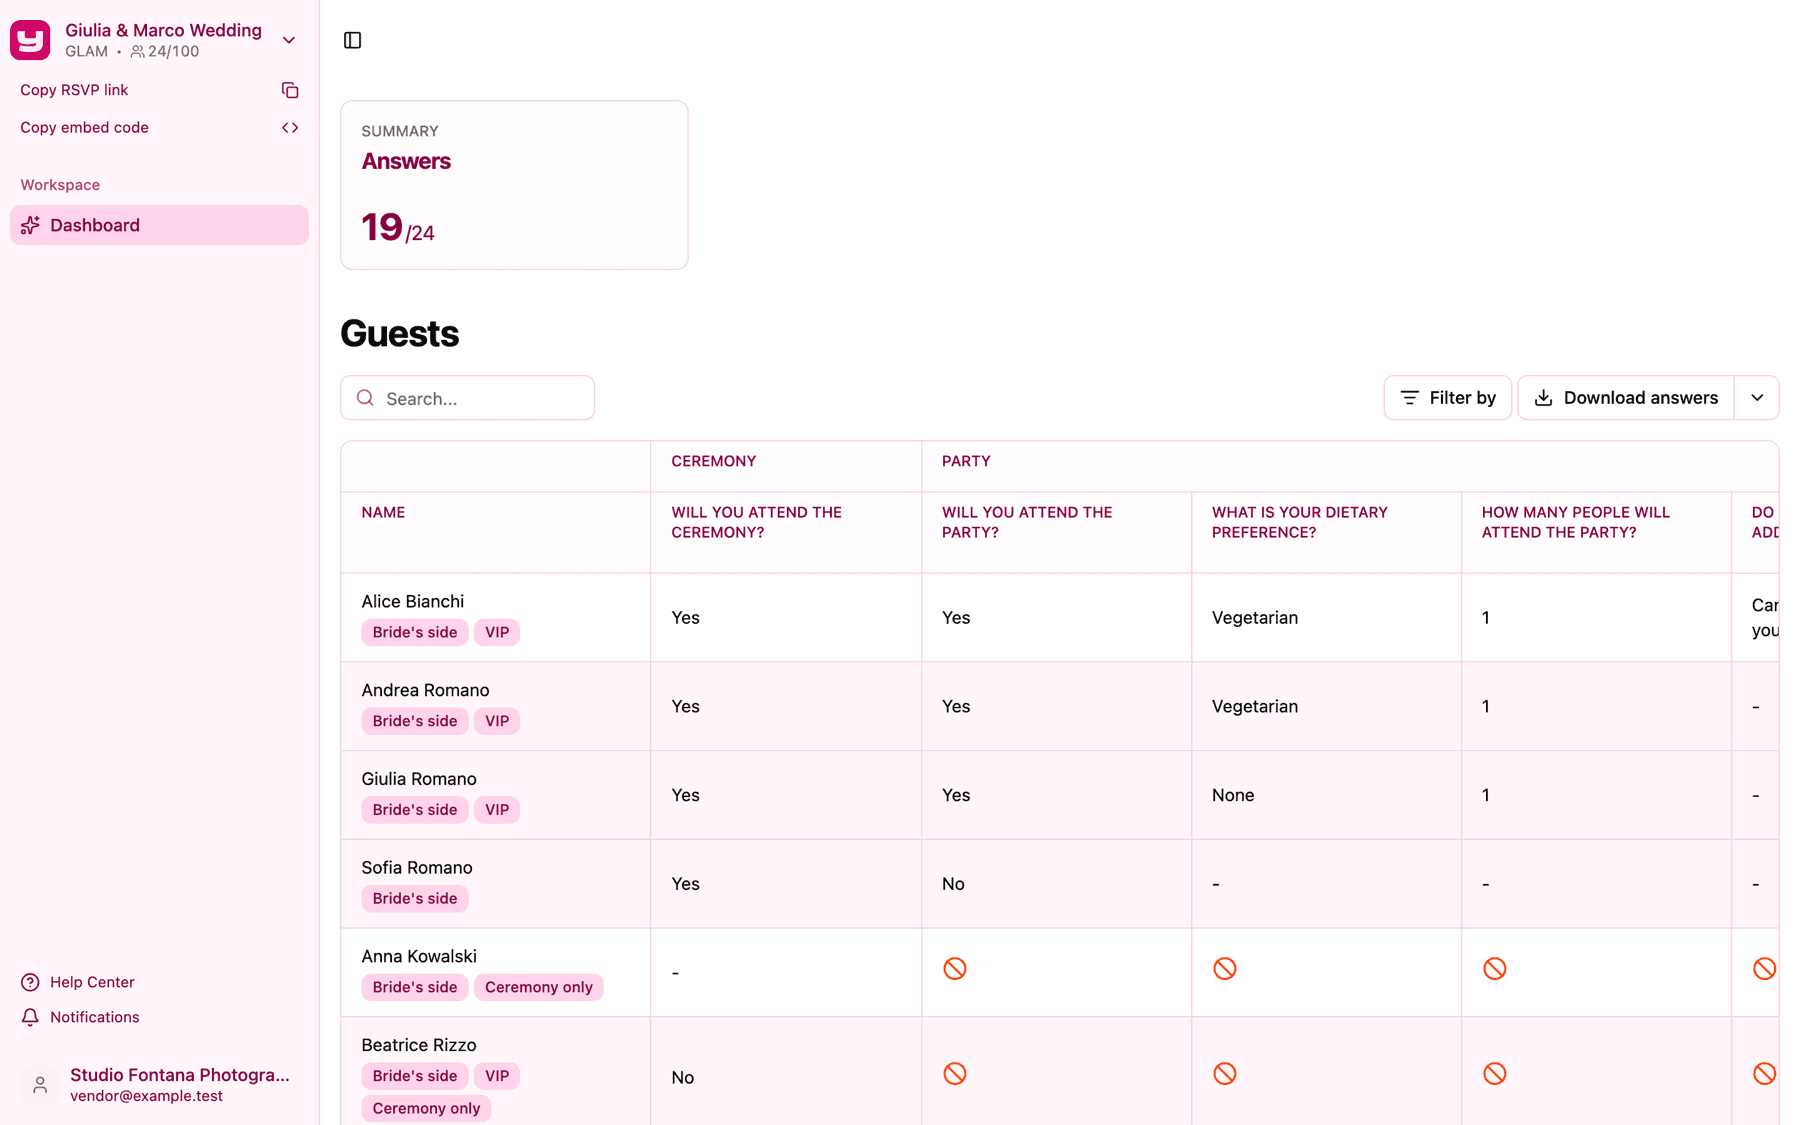
On the Dashboard you'll find:
- The Answers card, with how many guests have replied so far.
- Summary cards the Admins have set up: click one to see its chart and who answered what (see Setting up a summary card).
- The guest report table, with every guest's answers, search and filters (see Reading and filtering the guest report table).
- Download answers, to export everything to Excel or CSV (see Downloading your guests' responses).
Vendors also see a download button next to guests' uploaded documents. For a full overview, see A tour of the dashboard.
Just joined and the Dashboard looks empty? If the planner is still preparing the project, you might see "Your project is almost ready" (the project hasn't been activated yet) or the Set up your project checklist (no guests or questions yet). Both are for the Admins to take care of: come back a little later.
If the link doesn't work
Invytly doesn't show an error when an invitation can't be used: you simply don't land in the project. Instead, Invytly opens one of your other projects or, if you don't have any, the Create a new project window. Don't fill in that window: it's for starting your own event, not for joining someone else's.
The usual reasons, and what to do:
- You're already a member of the project. In this case you do land on the project, as usual, and your role stays the same. If you expected a different role, ask an Admin to change it.
- The link has already been used. If you joined earlier, the project is already in your list (see below). If you didn't, someone else probably used your link: ask the person who invited you to invite you again.
- The link is incomplete. Some email apps break long links across two lines. Click the link directly from the email rather than copying it, or make sure you copy it whole.
If none of these helps, contact the person who invited you: they can see whether your invitation is still pending on their side.
Switch between projects
If you work on more than one event, click the project name at the top of the sidebar. The Your projects menu lists every project you're a member of, with its plan and number of guests, and a tick next to the one you're viewing. Click a project to open it.
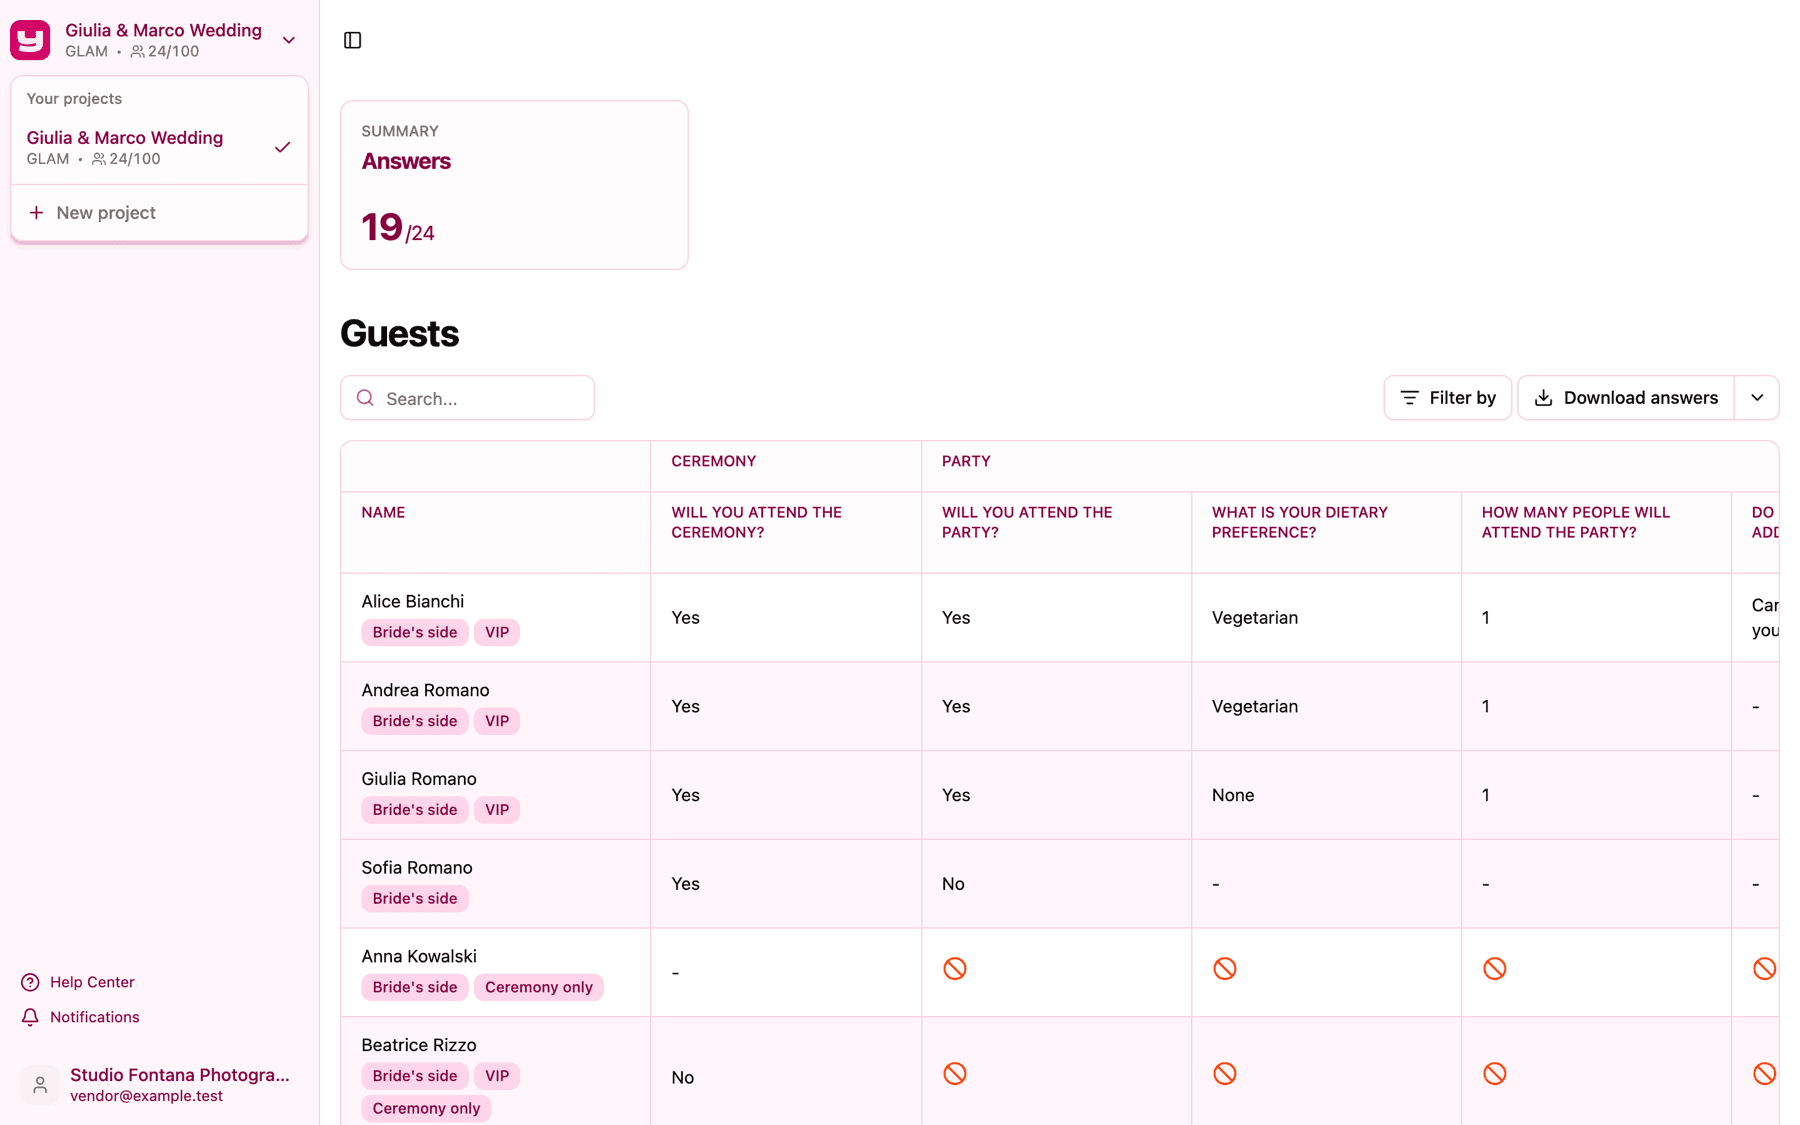
When you sign in, Invytly reopens the last project you used on that browser. New project, at the bottom of the same menu, creates a brand new project of your own: you don't need it to join or open projects you've been invited to.
Leaving a project
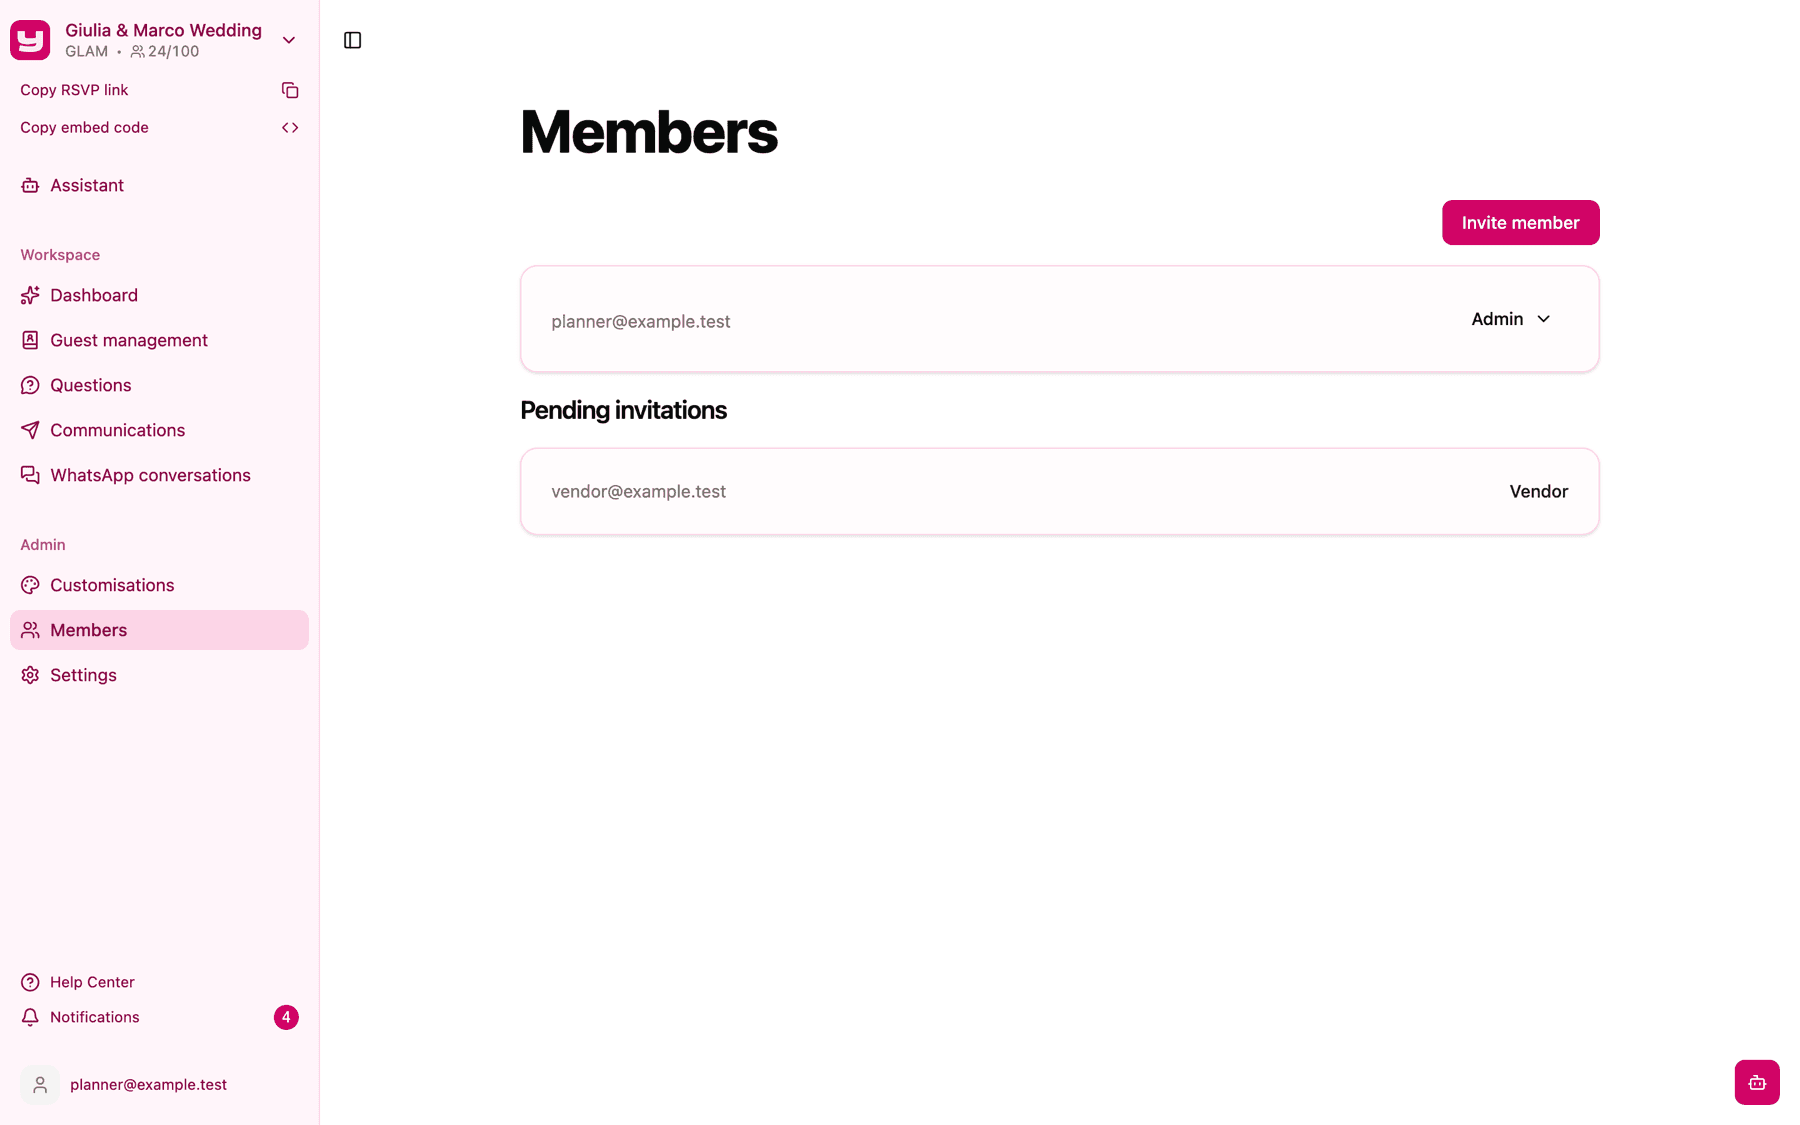
There's no button to leave a project yourself. If you no longer need access, ask one of the project's Admins to remove you from the Members page.