The guest report table is the big table on your project's Dashboard, right below the cards. It's titled Guests and it shows one row per guest and one column per question, so it's the place to look up exactly what someone answered, build a list of who still has to reply, or fix an answer a guest gave you over the phone.
Before the table appears
The table needs something to show: as long as your project has no guests or no questions, the Dashboard shows the Set up your project checklist instead, with two steps:
- Add your guests, with the Add guests button (see Importing guests from a CSV file or Adding and editing guests).
- Add your questions, with the Set up questions button (see Creating questions and question types).
Each step gets a tick once it's done. As soon as the project has at least one guest and at least one question, the checklist is replaced by the cards and the report table.
How the table is organized
- The Name column stays pinned on the left while you scroll sideways. Under each name you'll see the guest's tags.
- Question columns follow, grouped under the name of the section they belong to, in the same order as on the Questions page. Sections without questions don't get columns.
- Households stay together. Guests of the same group (a family, a couple) sit next to each other, and groups are listed alphabetically by the first name of their first guest.
- A dash (-) means the guest hasn't answered that question yet.
- The "no entry" icon means the guest isn't invited to that section, so they'll never see that question. Hover it to read "Guest not invited to this event."
- Yes/No questions are shown as Yes or No, and multiple choice answers are listed separated by commas.
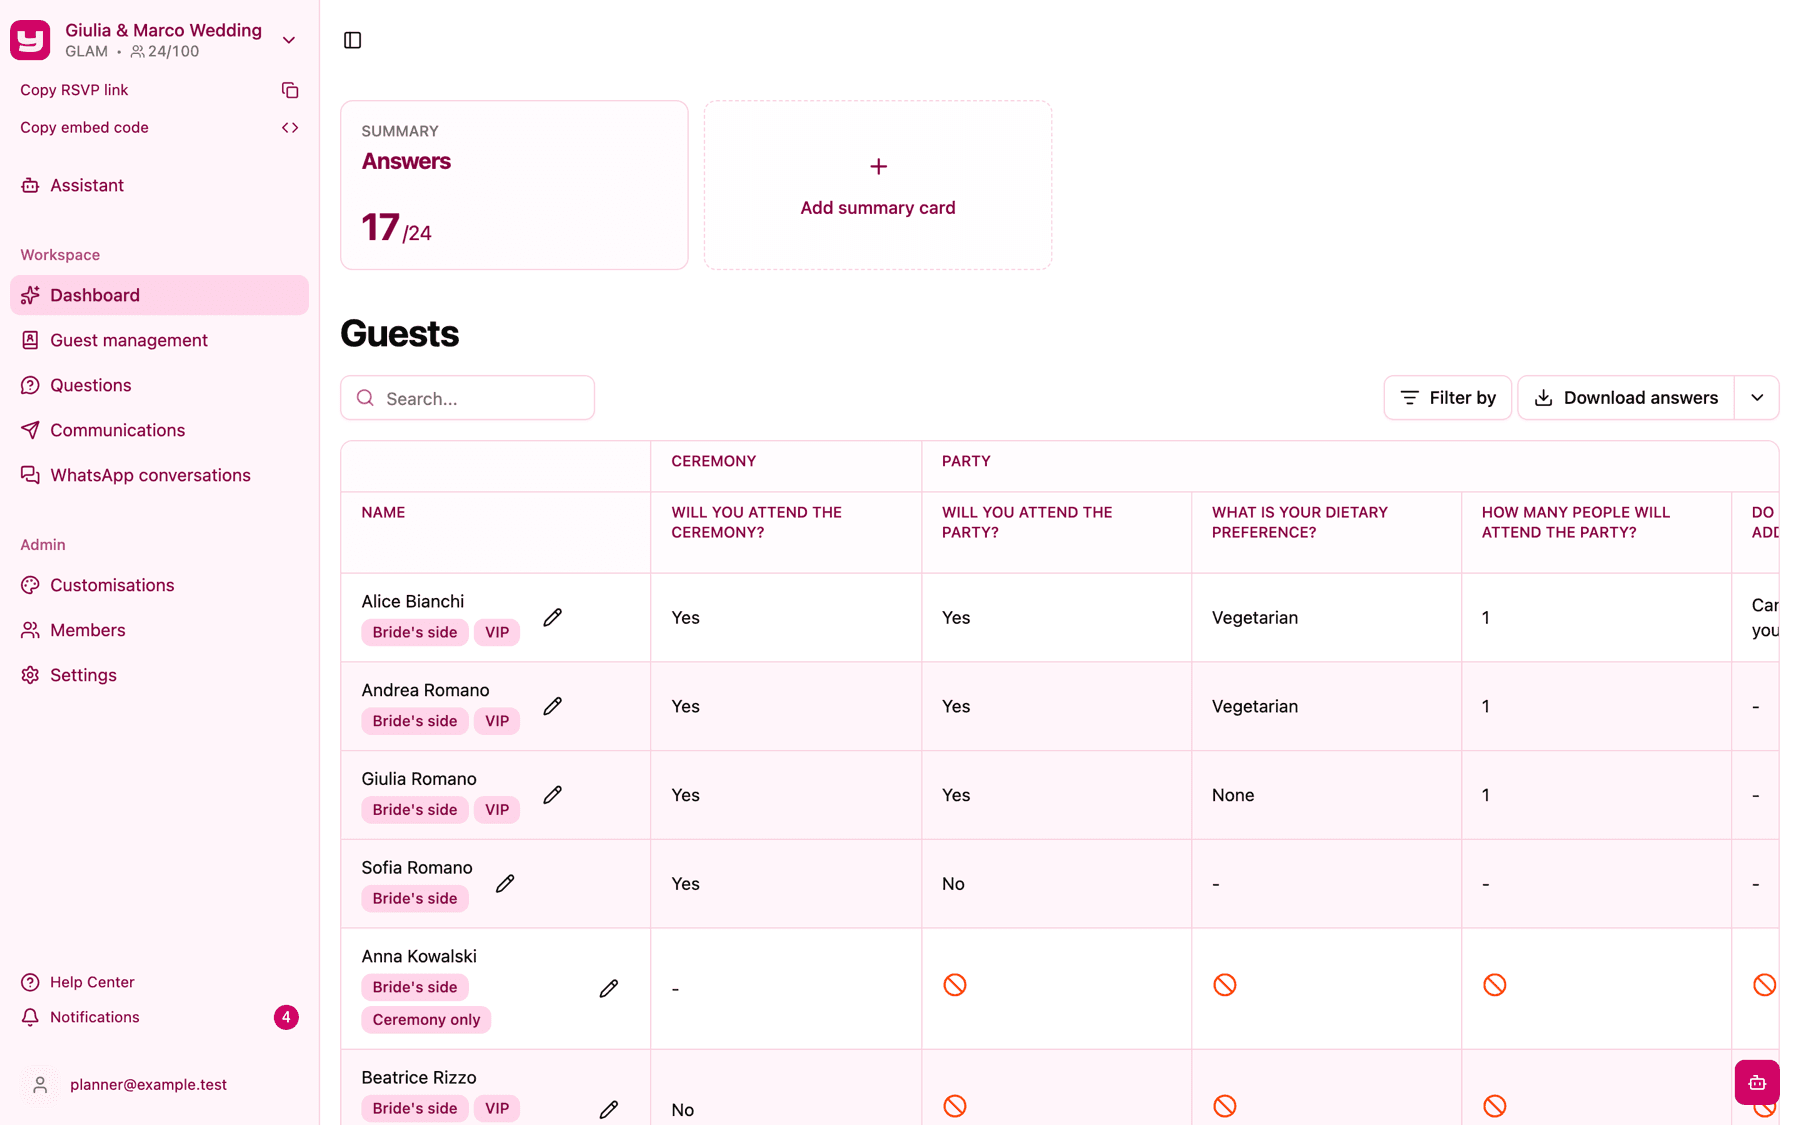
At the bottom of the table, Rows per page lets you show 5, 10 (the default) or 25 guests per page, and the arrows move between pages. The counter next to them (for example "1-10 of 120") always refers to the guests that match your current search and filters.

Search for a guest
Type in the Search... box above the table to find guests by name. The results update as you type, and the page counter shows how many guests match.
Filter the table
Click Filter by to open the Filter guests panel. It has two parts:
- Tags: one button per tag of your project. Turn on one or more tags to see only the guests that have at least one of them. If your project has no tags yet, the panel says "No tags found" (see Using tags to organise your guests).
- Questions: every question of your survey, grouped by section. Each question offers its possible answers as buttons:
- Yes/No questions offer Yes and No (or the custom labels you gave them);
- single and multiple choice questions offer each of their options;
- every question, whatever its type, also offers Answered and Not Answered.
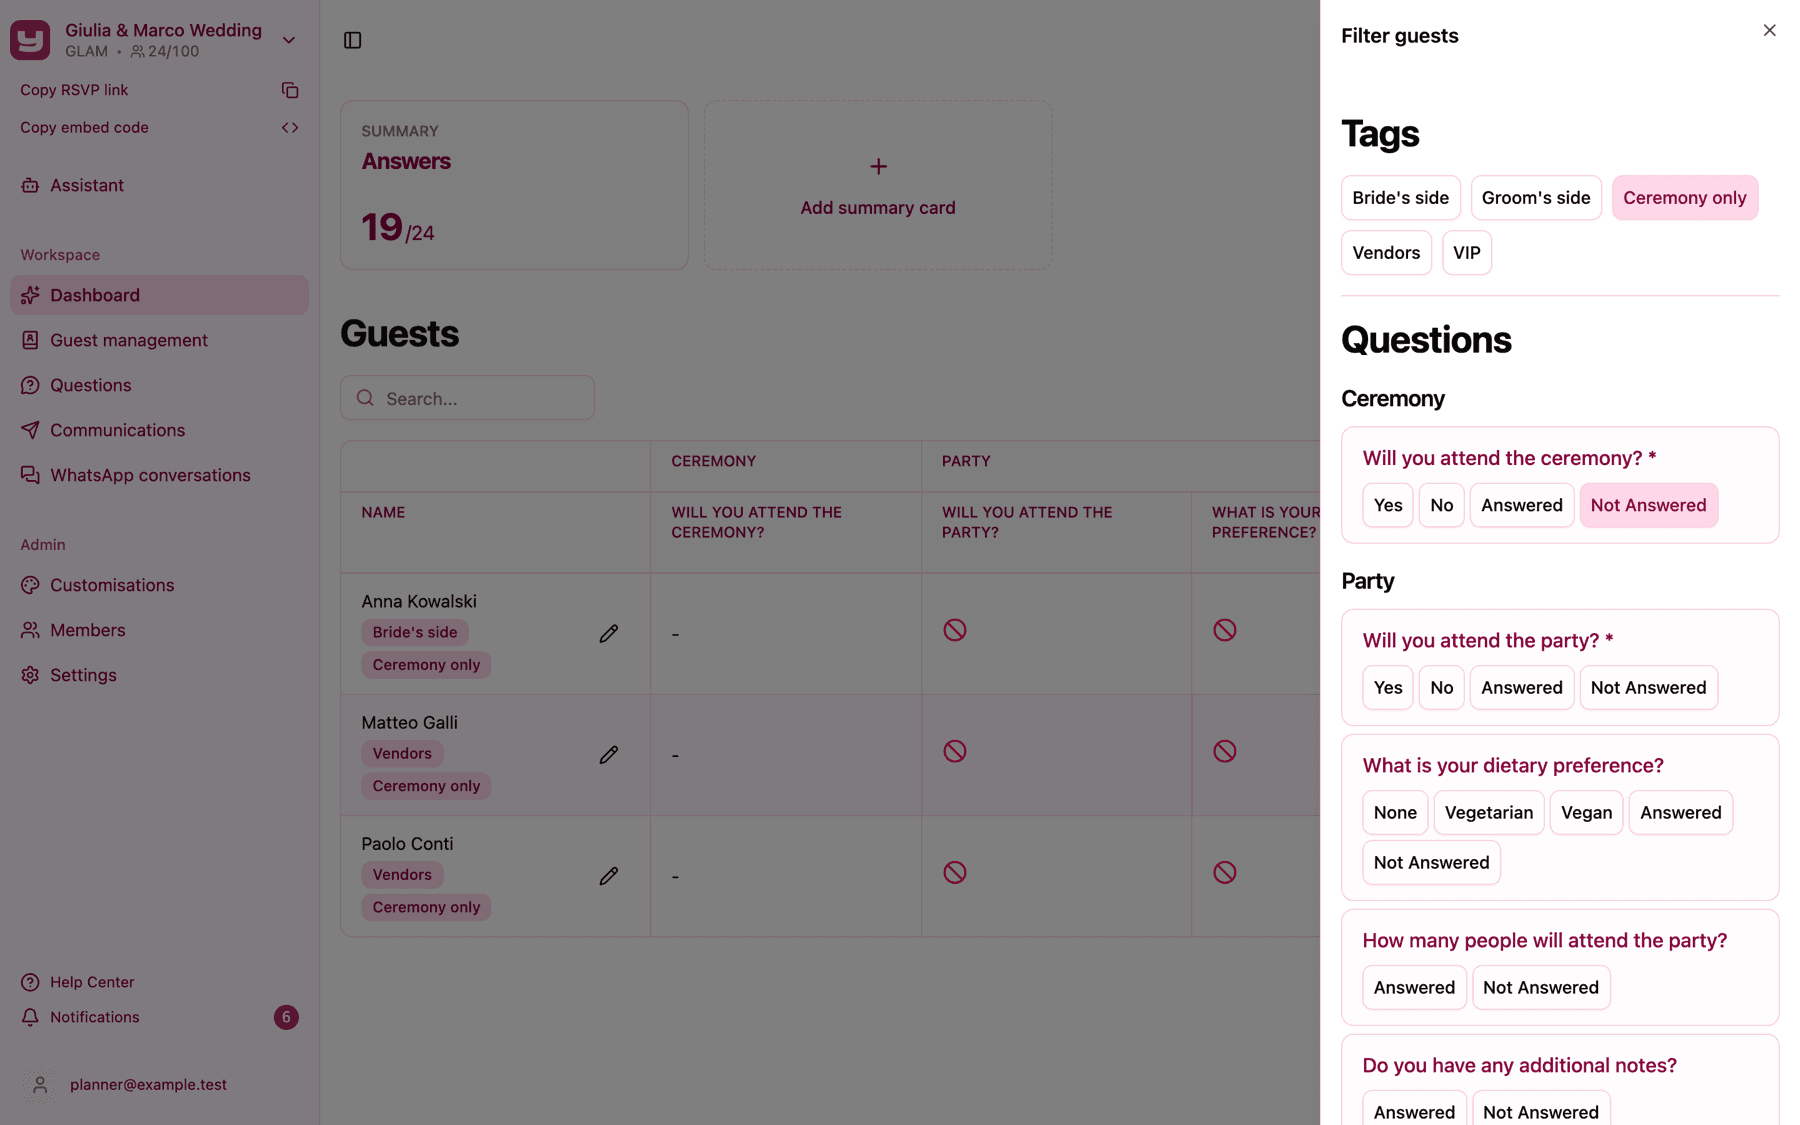
A few rules make the filters predictable:
- Within the same question, the answers you select add up: choosing "Meat" and "Fish" on the menu question shows guests who picked either.
- Across different questions, and between tags and questions, every condition must be true: "Yes" on the ceremony question plus "Not Answered" on the menu question shows guests who are coming but haven't chosen a menu.
- Answered and Not Answered look at that question only. A guest who isn't invited to a section counts as Not Answered for its questions.
The Filter by button shows a small counter with how many filters are active. To remove a filter, open the panel again and click the highlighted button to turn it off. Filters and search stay applied while you move through the pages, and they reset when you leave the Dashboard.
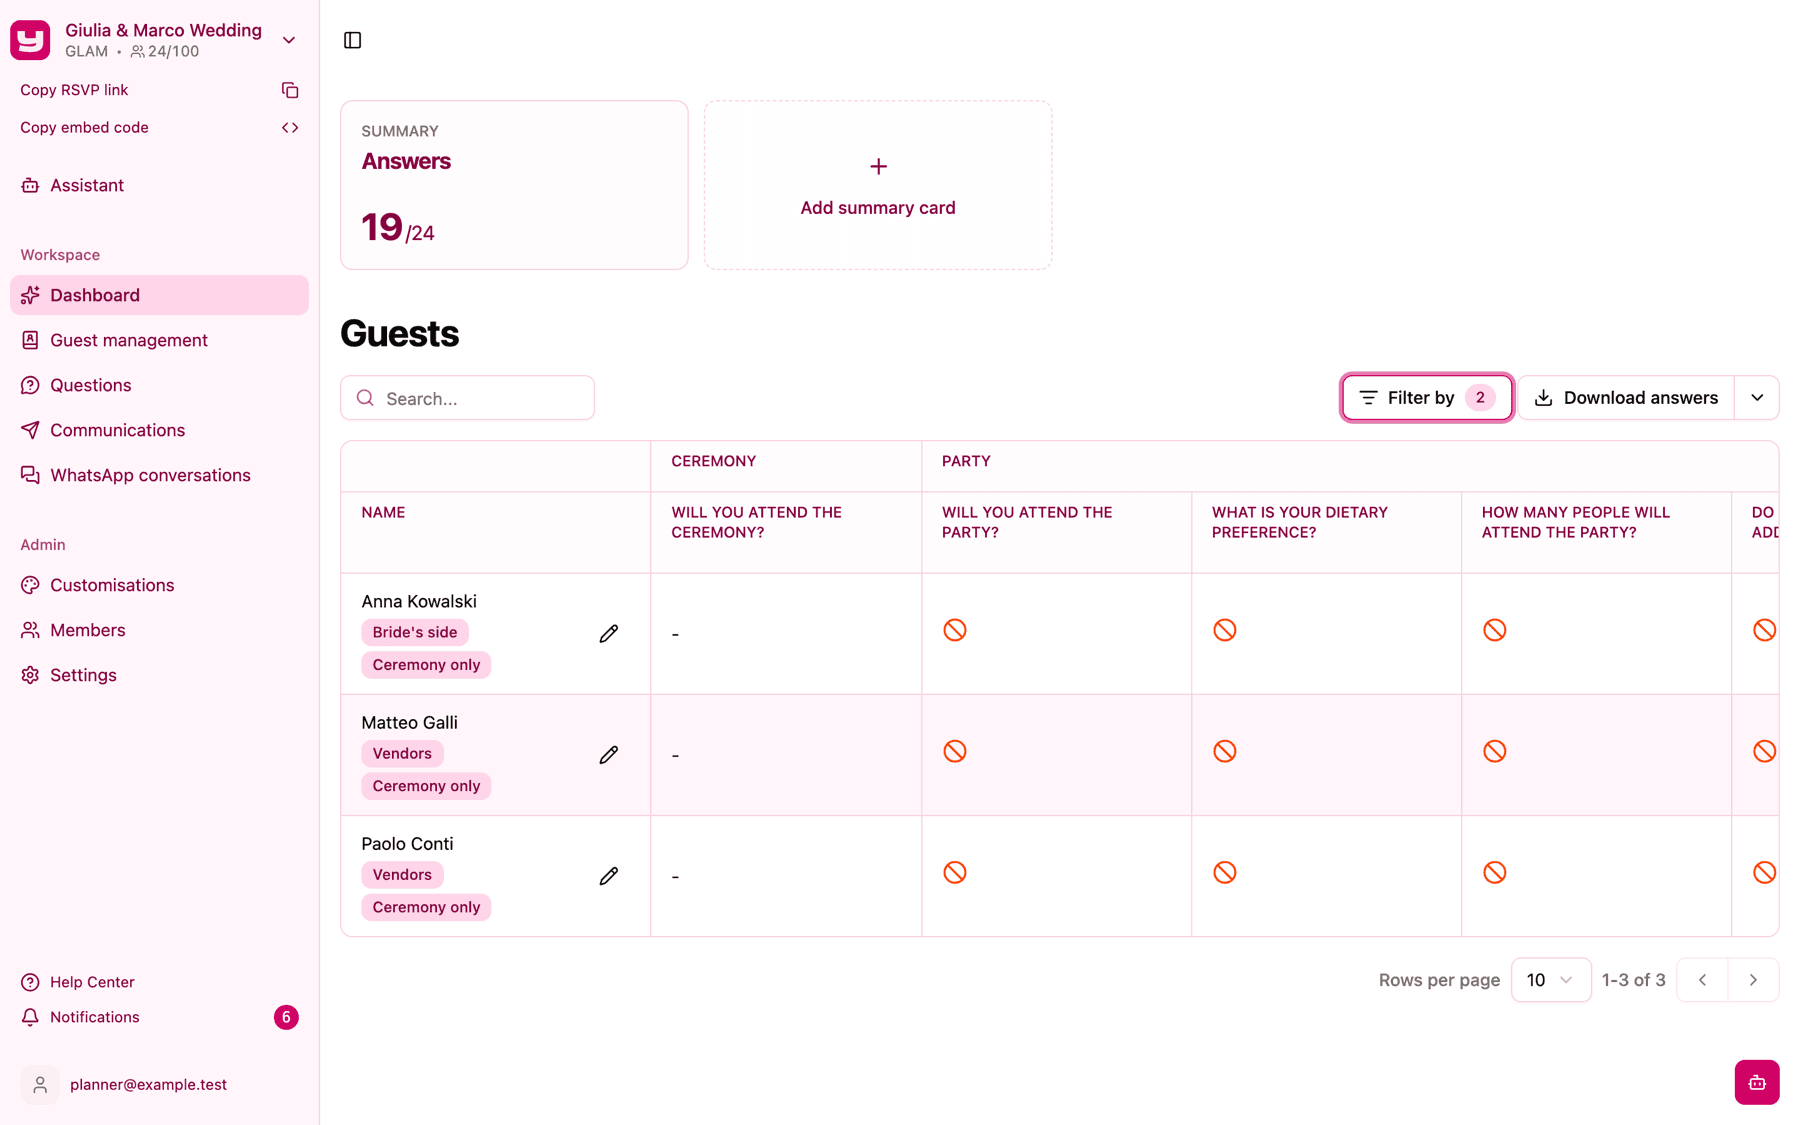
Tip: filtering by Not Answered on your main attendance question gives you the exact list of people to remind. To actually send them a reminder, use the same filters in the recipient picker of a communication (see Choosing who receives a communication).
Download a document a guest uploaded
If your survey has a document upload question (for example an ID for the security list, see Asking guests to upload a document), cells with a document show a green file icon.
Admins and Vendors also see a download button (a cloud with an arrow) next to the icon: click it and the document is decrypted and downloaded to your computer. The file is named with a code rather than the guest's name, so rename it as soon as you save it if you need to keep documents in order. For security, every download is recorded.

Viewers only see the green icon: they know the document is there, but they can't open it. If something goes wrong, you'll see "There was a problem downloading the document. Please try again later."
Answer on behalf of a guest
Some guests will never open the RSVP page: they call you, text you, or tell you at a family lunch. Admins can record their answers directly from the table:
-
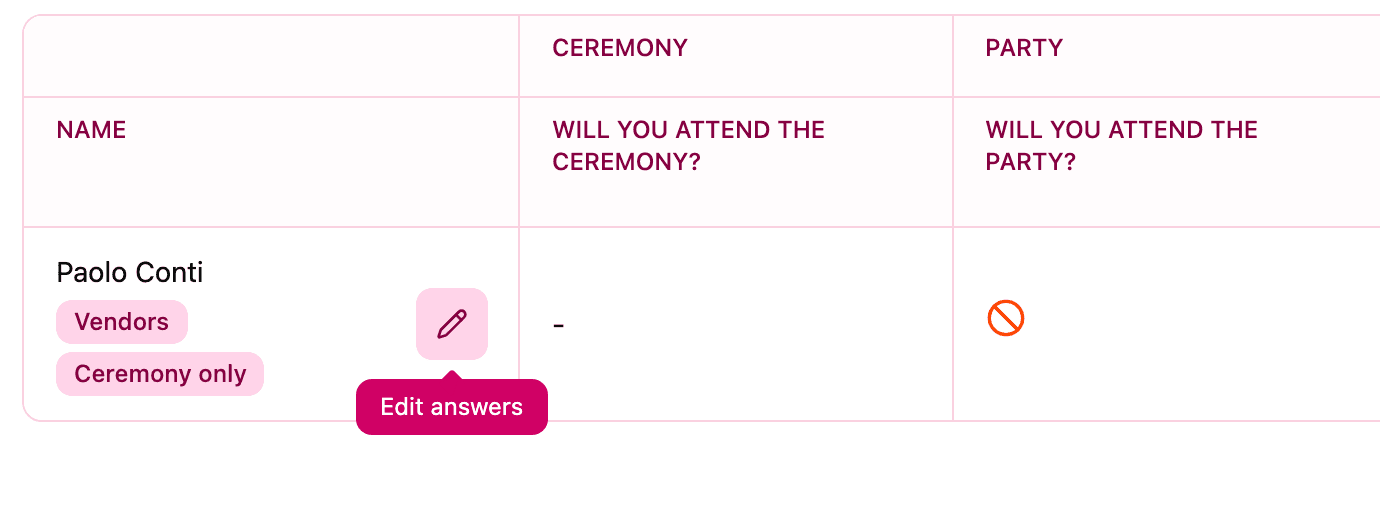
Find the guest in the table and click the pencil next to their name (hover it to read Edit answers).
-
The Answer on behalf of your guest window opens with the guest's current answers, if any. It shows only the sections that guest is invited to.
-
Fill in or correct the answers and click Save. The message "The answers have been successfully edited" confirms it.
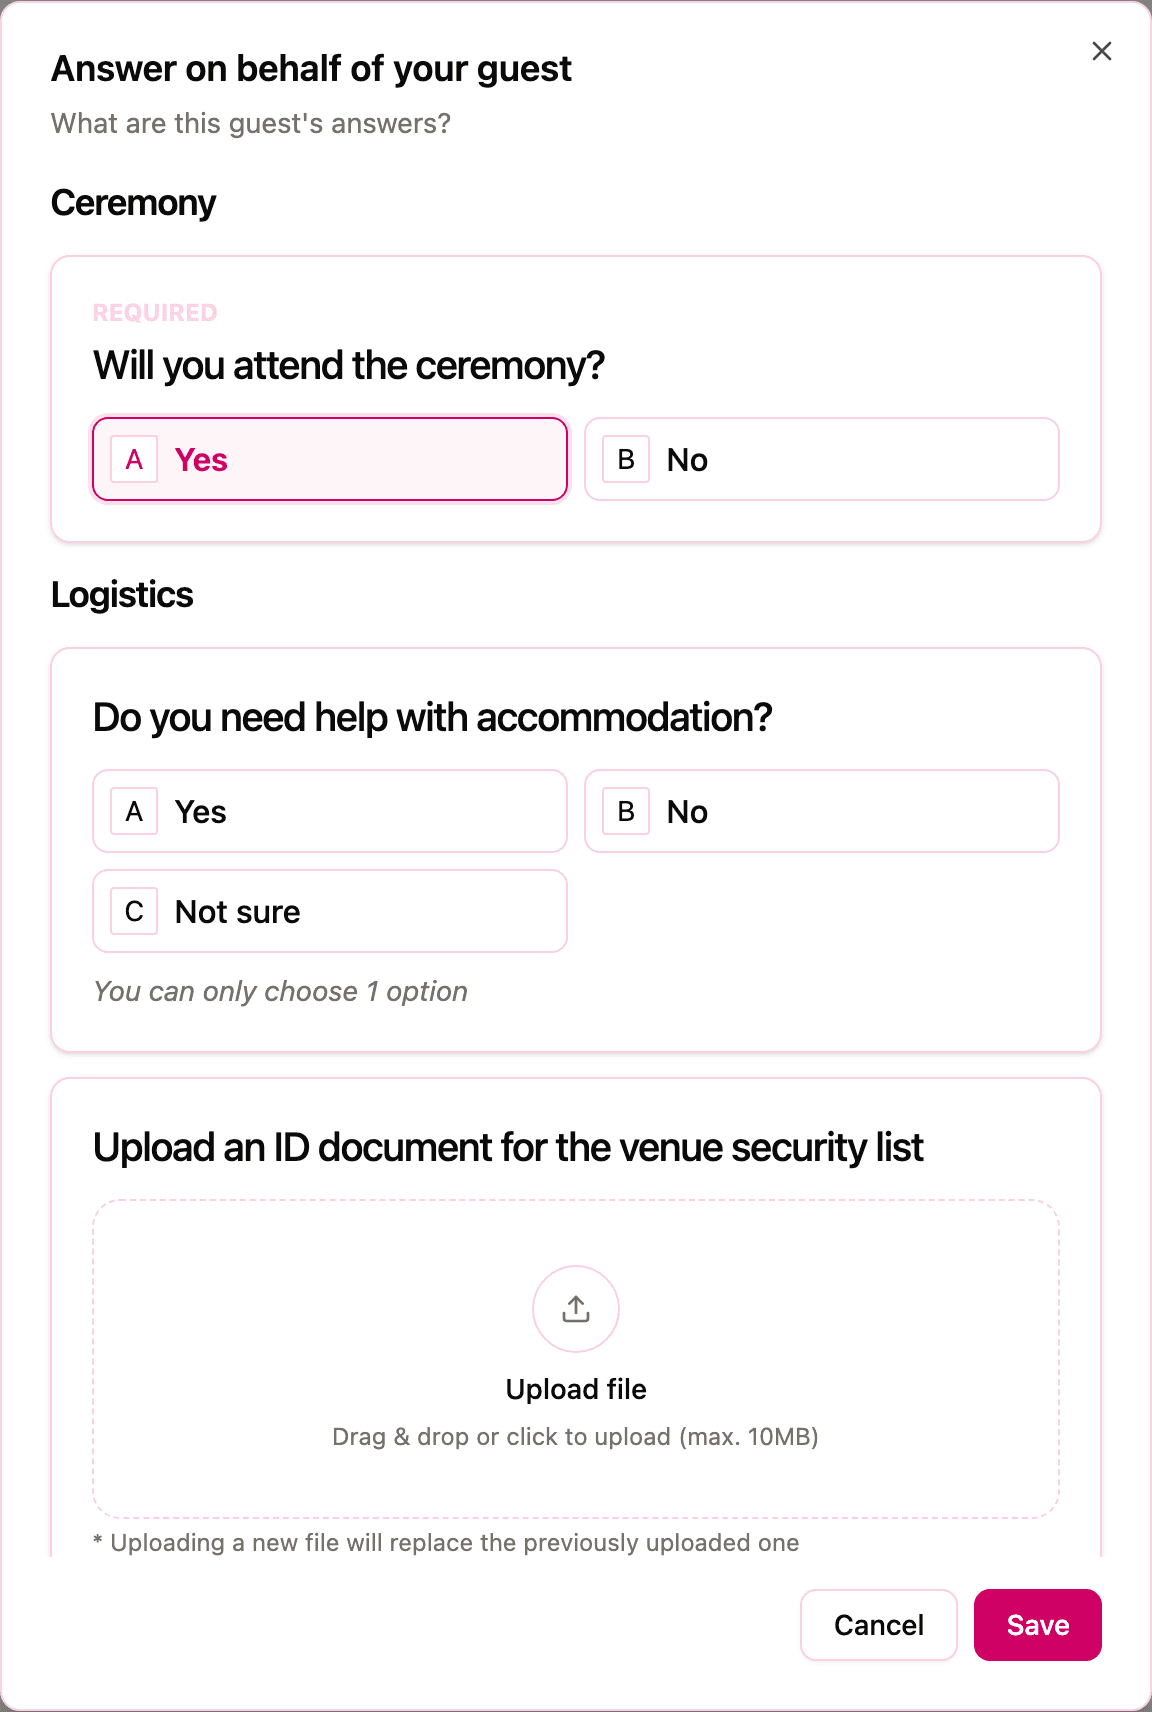
The form works like the RSVP page: mandatory questions must be filled in, and if an event opens with an attendance question and you answer No, the rest of that event's questions are skipped. You can also upload a document for the guest if the survey asks for one.
What happens after you save:
- The answers are updated everywhere: in the table, in the Answers card, in your summary cards and in the downloads.
- If the survey includes an email or phone number question, the address or number you enter is also saved on the guest's details in the guest list.
- The guest's "answered" mark in Guests management doesn't change. That mark only appears when the guest completes the RSVP page themselves; answers you record on their behalf don't set it.
- Nobody is notified: the guest doesn't receive a recap email, and you and the other Admins don't get a notification.
If the guest later opens the RSVP page and answers on their own, their answers replace the ones you entered.
Who can see what
Everyone who is a member of the project sees the table, can search and filter it, and can download the answers. What changes by role:
| What they can do | Admin | Vendor | Viewer |
|---|---|---|---|
| View, search and filter the table | Yes | Yes | Yes |
| Download the answers (Excel or CSV) | Yes | Yes | Yes |
| Download documents uploaded by guests | Yes | Yes | No |
| Answer on behalf of a guest | Yes | No | No |
For more on roles, see Adding collaborators and sharing the project with the couple.
Related articles
- Downloading your guests' responses: export the whole table to Excel or CSV with the Download answers button above the table.
- Setting up a summary card: keep the totals of one question always in sight at the top of the Dashboard.
- A tour of the dashboard: an overview of everything on the Dashboard.