The Settings page is where you manage the basics of your project: its name and dates, the language used for guests, how your communications are signed, who guests can contact if they get stuck, and, if you ever need it, how to delete the project.
You'll find it in the sidebar, in the Admin group, together with Customisations and Members. The Admin group is only shown to Admins; other members of the project (Vendors and Viewers) can't change anything here. For more on roles, see Adding collaborators and sharing the project with the couple.
The page, titled Project settings, is made of four cards stacked one below the other. Here they are in order.
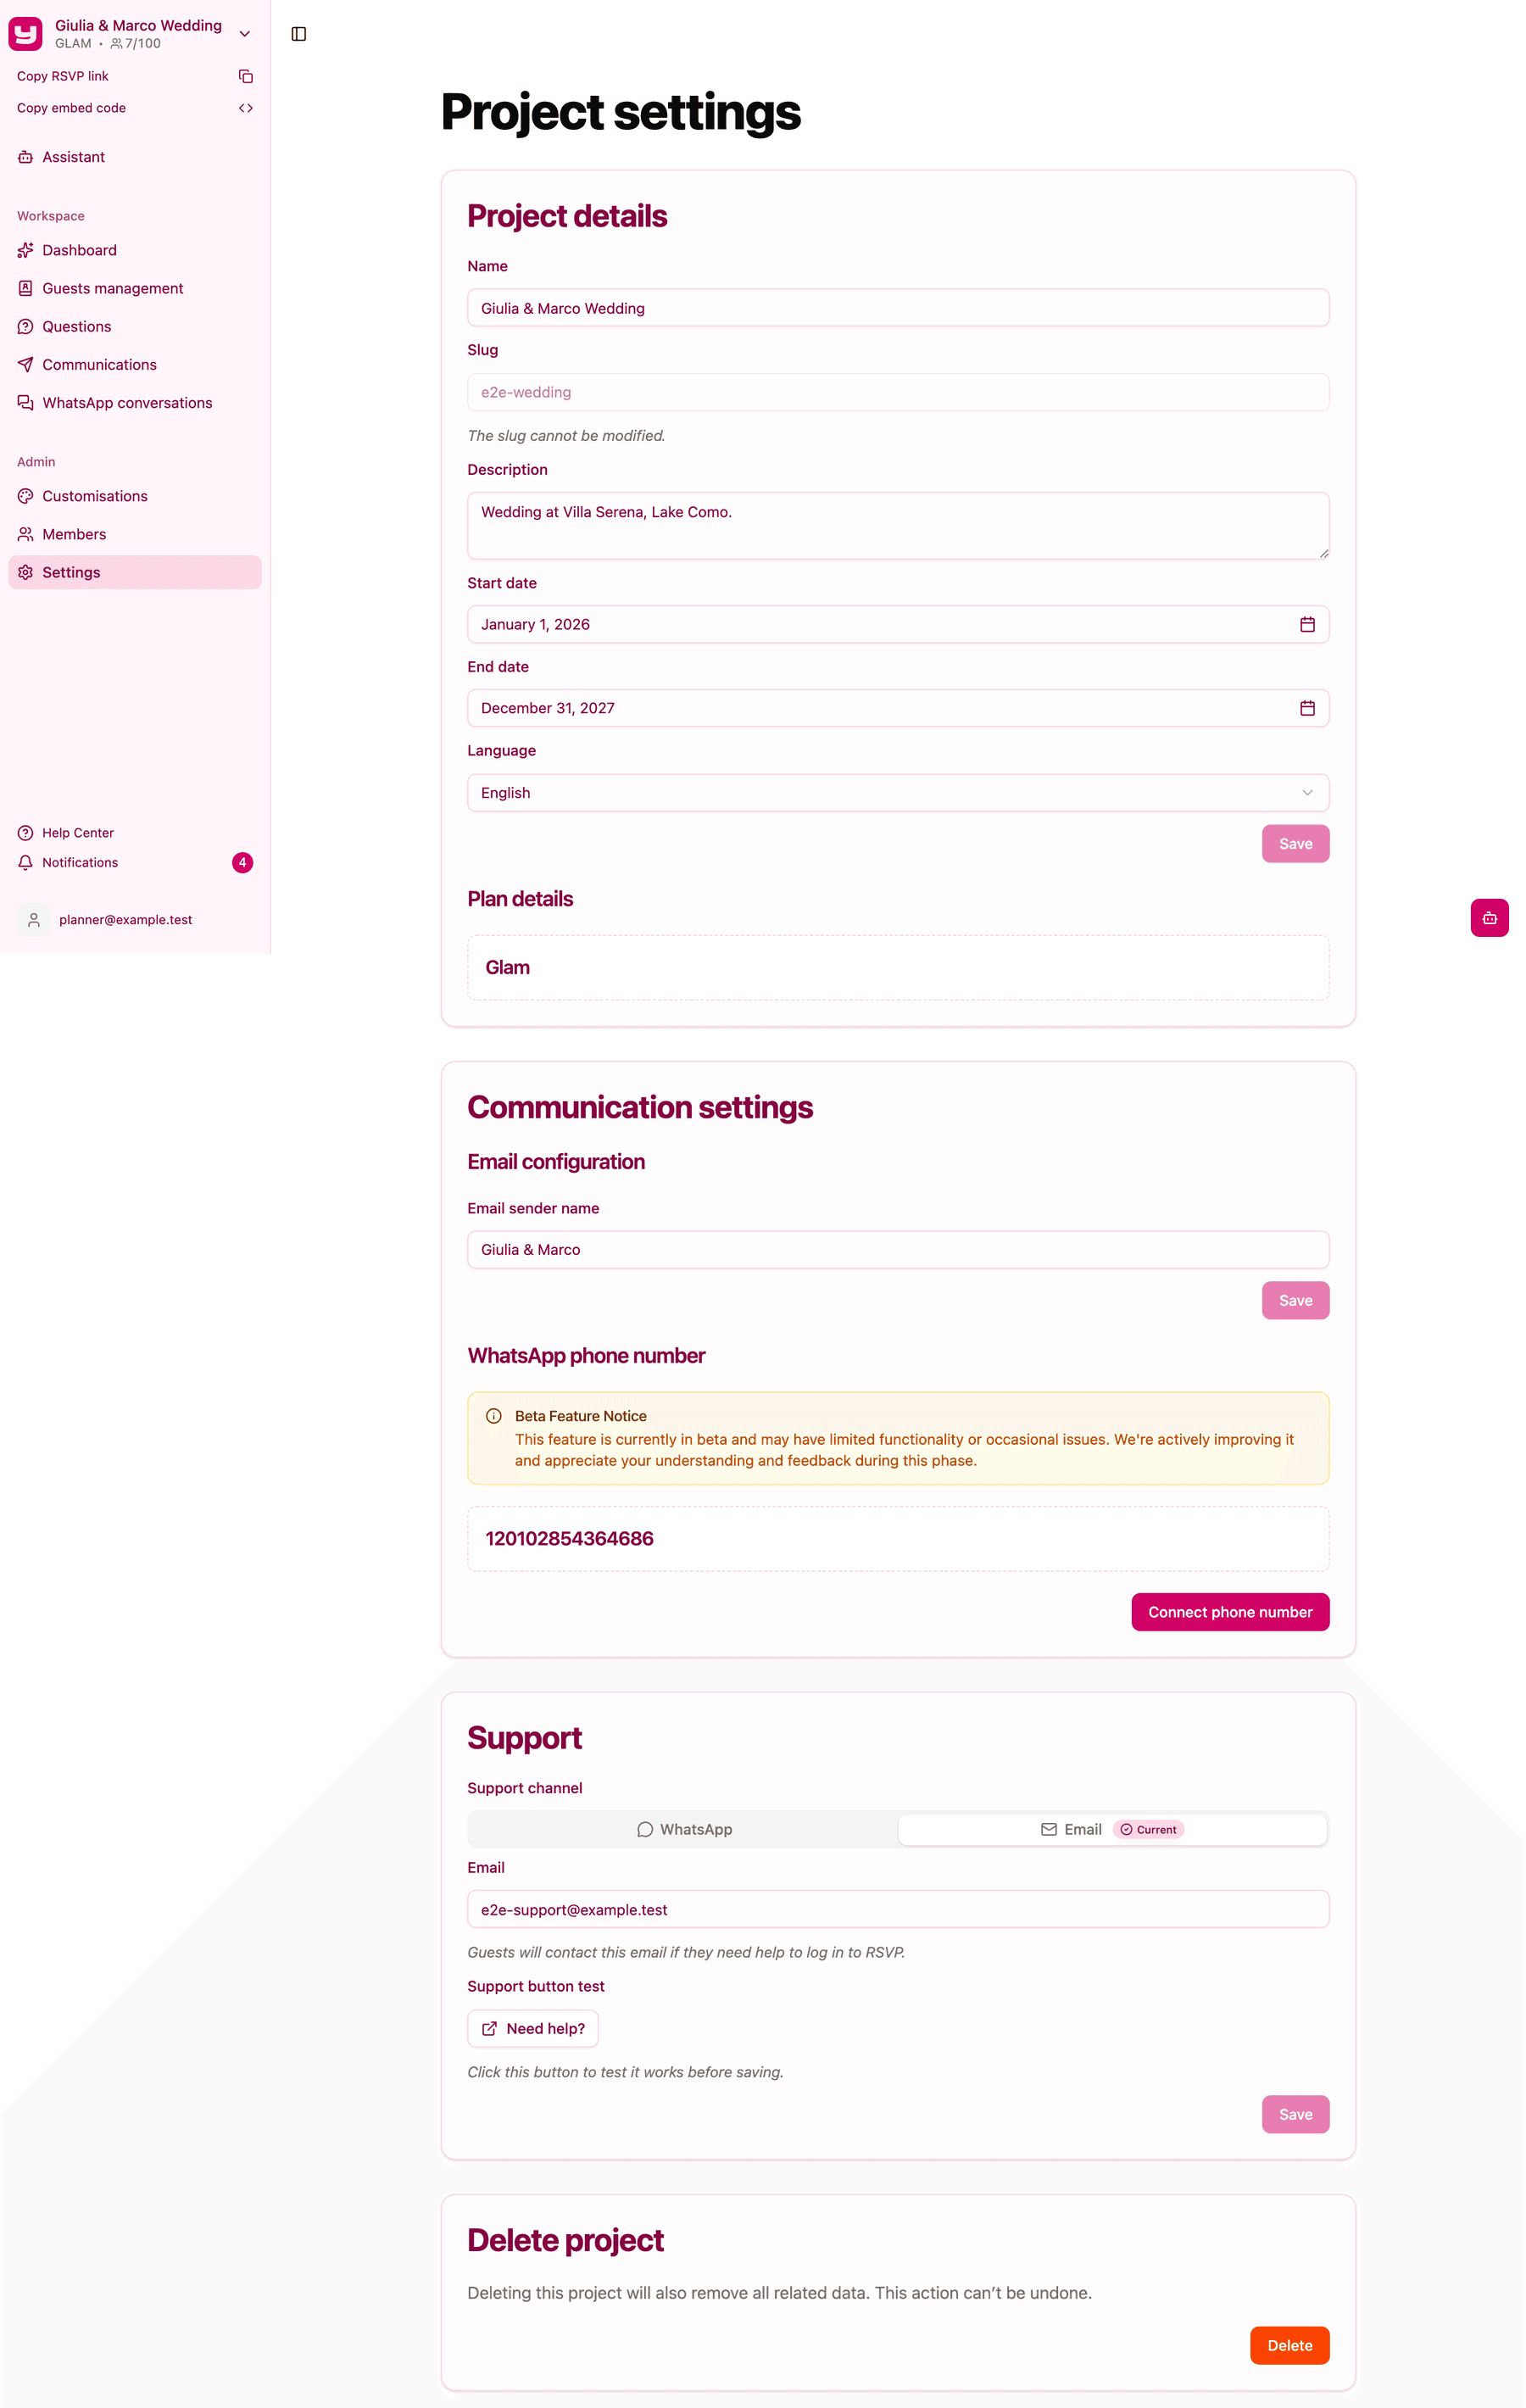
Project details
This card holds the information that describes your event. Most of it appears on the RSVP page your guests open, so it's worth a careful read.
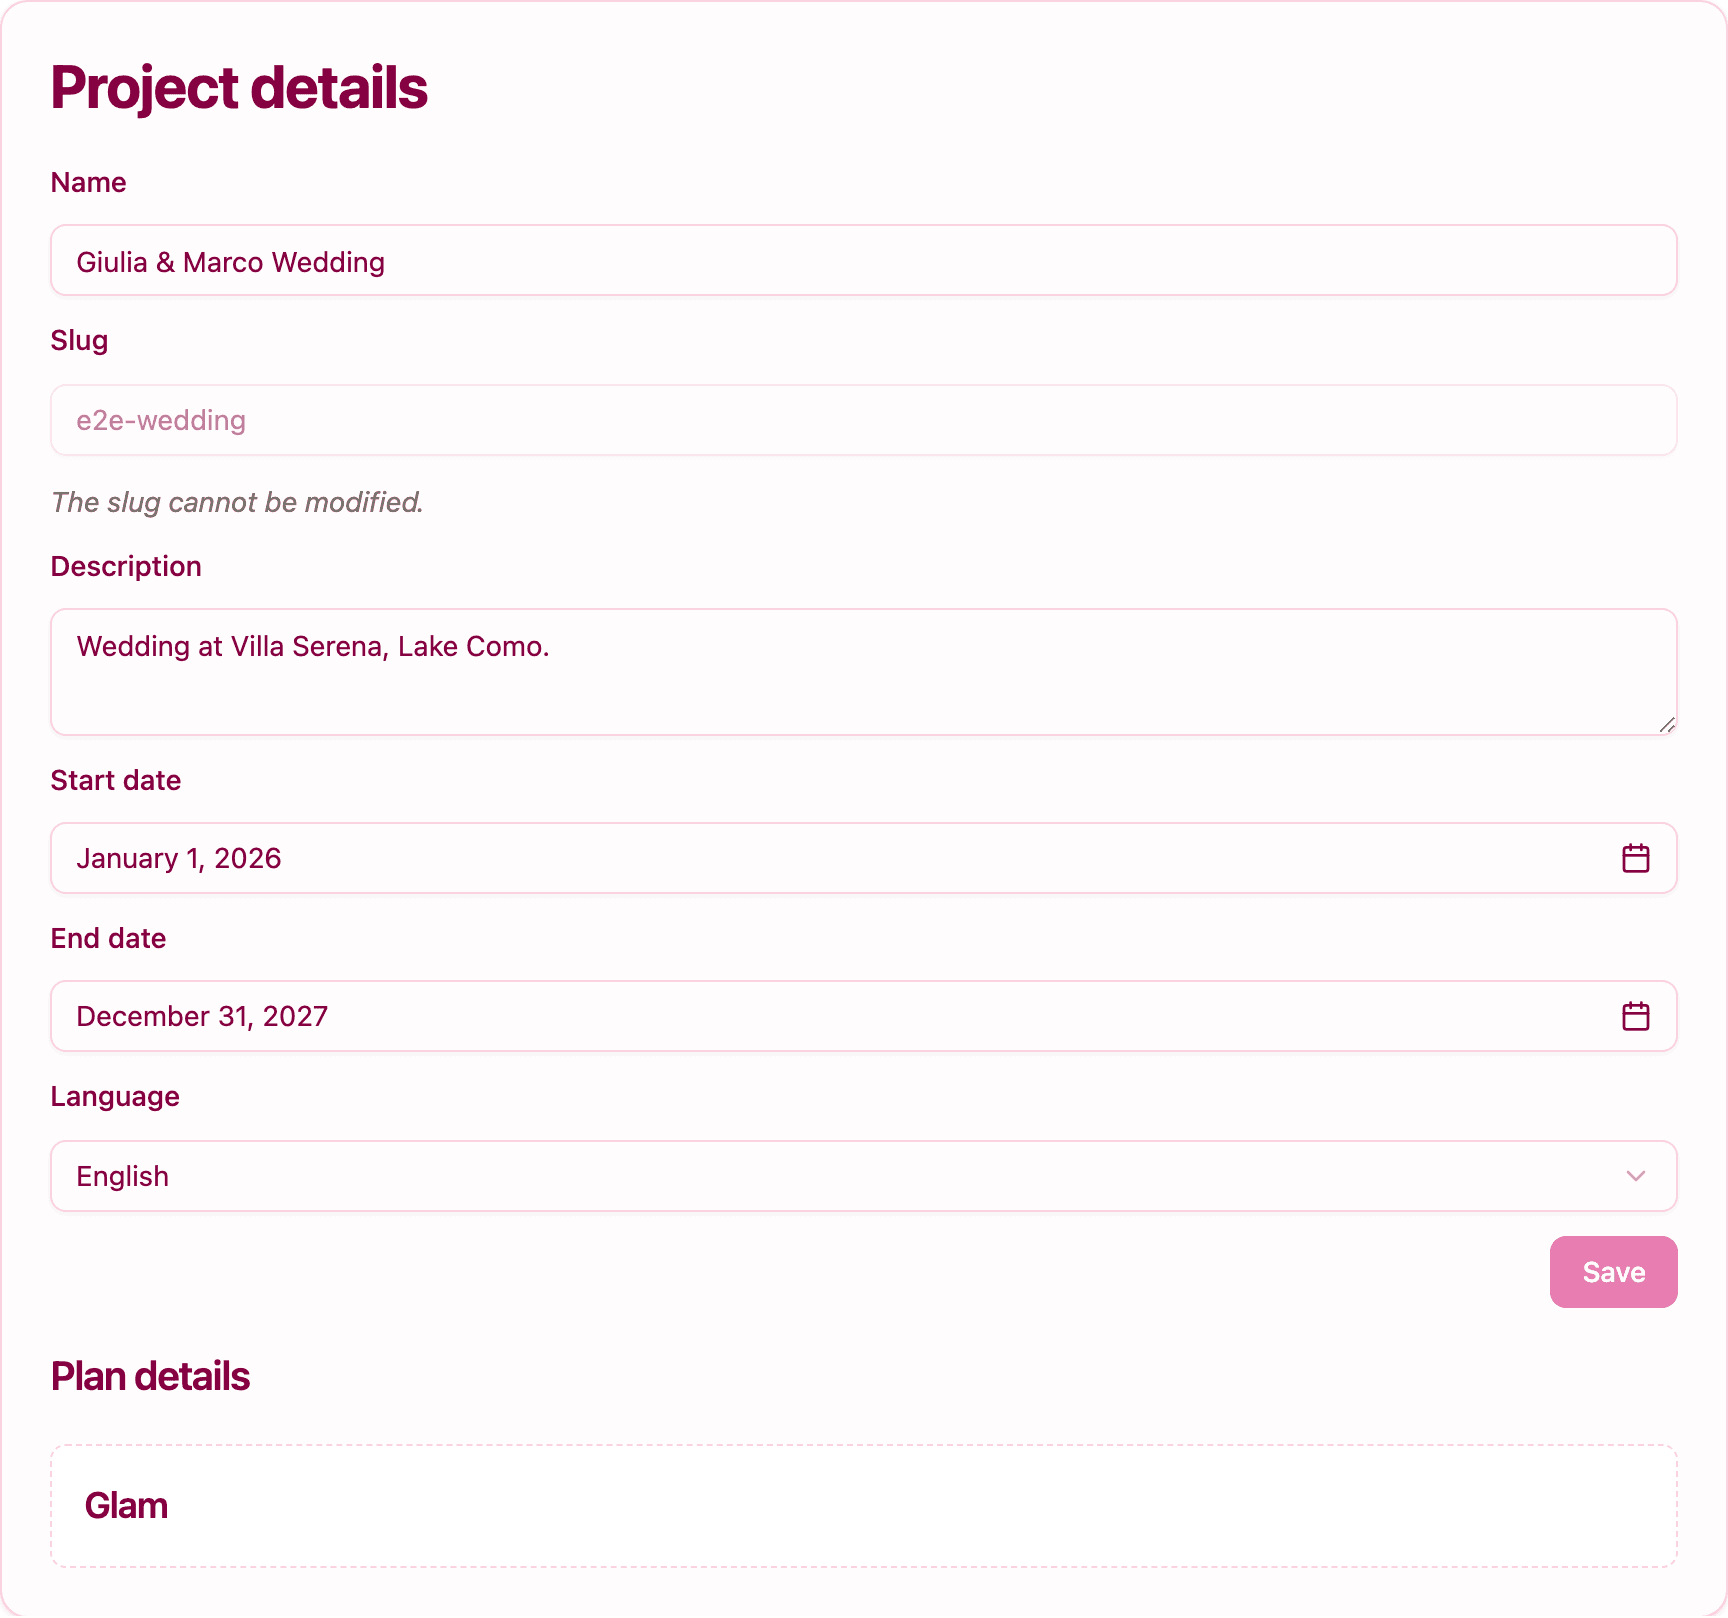
- Name: the name of your event, between 3 and 50 characters. Guests see it at the top of the RSVP page, so choose something they'll recognise at once, like "Giulia & Marco Wedding".
- Slug: the last part of your RSVP page address (for example
app.invytly.com/rsvp/giulia-marco). It is chosen when you create the project and can't be changed from the app afterwards, which is why the field is greyed out. If you really need a different address, contact Invytly support at support@invytly.com. - Description: up to 300 characters of welcome text, shown to guests on the RSVP page under the event name. Use it for a warm greeting or a short note such as the venue.
- Start date and End date: the dates of your event, also shown on the RSVP page. The start date can't be in the past, and the end date can't come before the start date.
- Language: Italian, English or French. This is the default language used for guests who don't have a language of their own, for example in communications. The RSVP page itself follows the language of each guest's browser, so an English-speaking guest will read it in English even if your project is set to Italian.
When you change something, the Save button becomes active. Click it and a confirmation message tells you the project was successfully edited. If you haven't changed anything, Save stays disabled.
Plan details
At the bottom of the same card, Plan details shows the name of your plan: Exclusive, Trendy or Glam. It is just a label: plans and guest numbers can't be changed from this page. If you need more guests or a plan with more features, see What to do when you need more guests and Upgrading your plan.
Communication settings
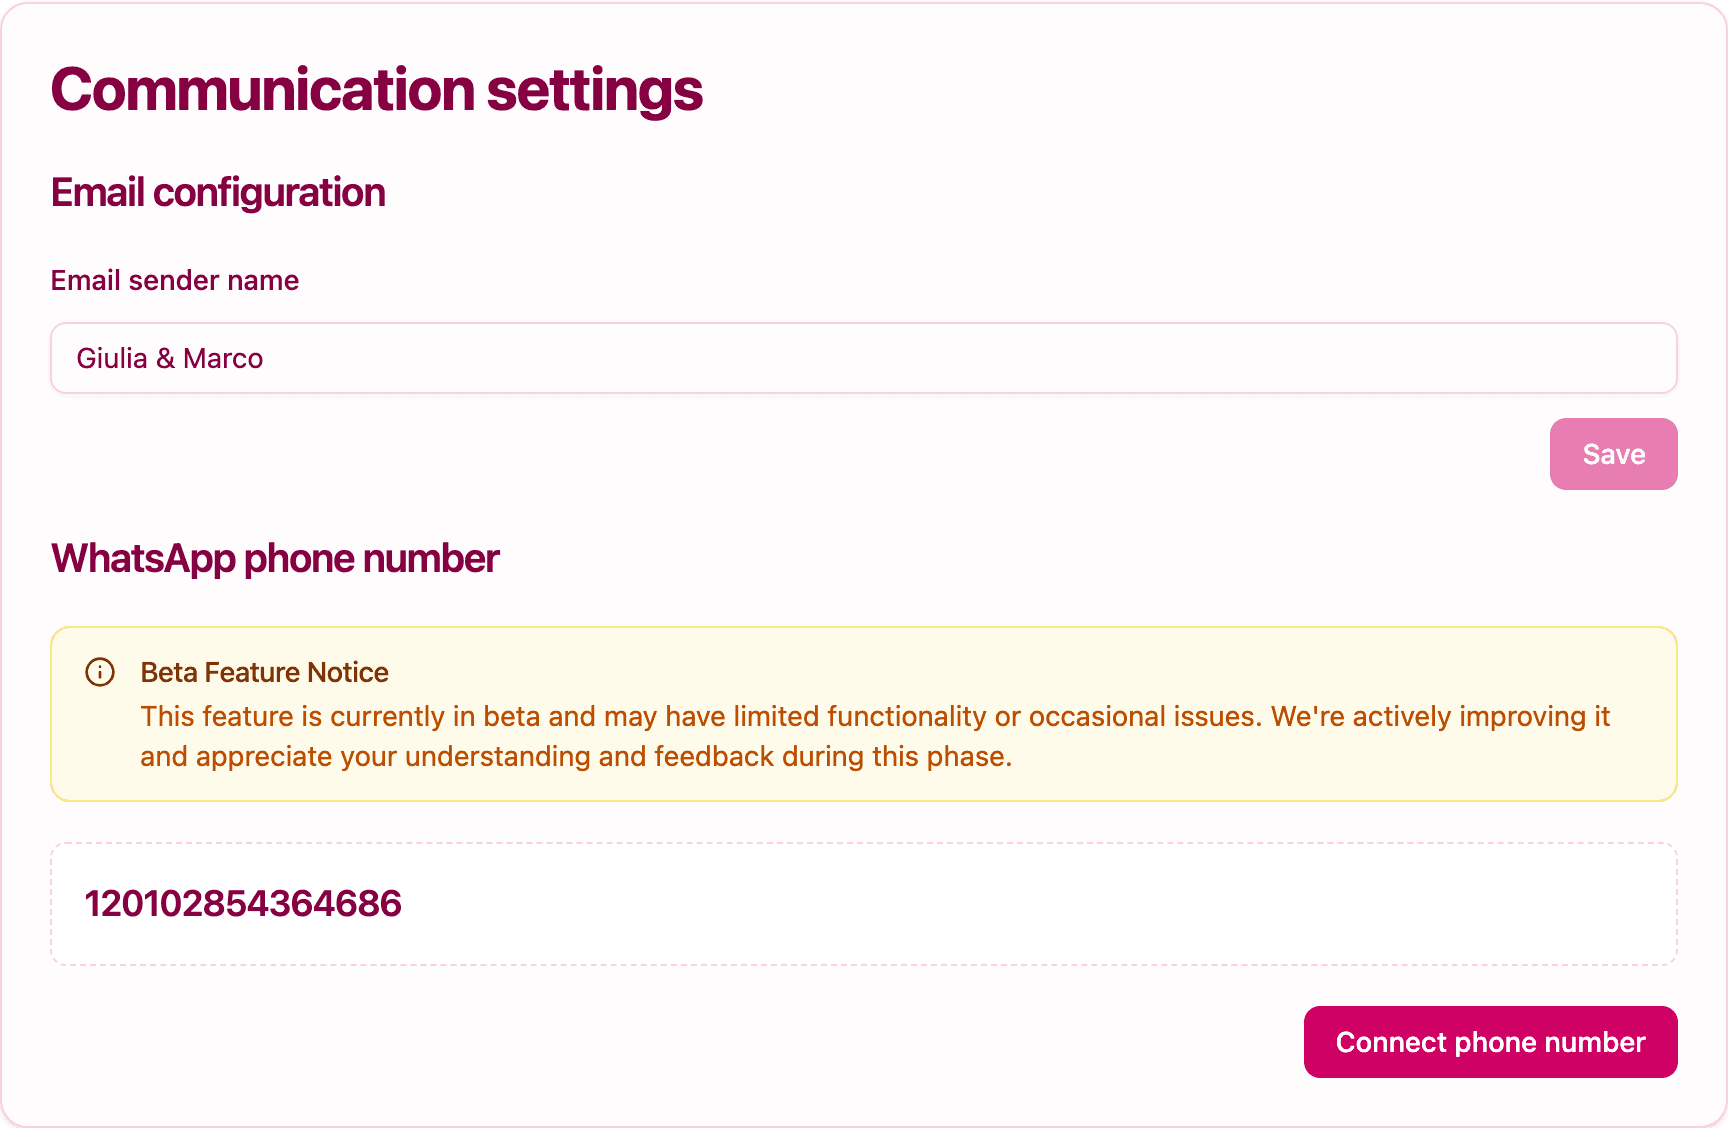
This card controls how your emails and WhatsApp messages reach guests. It isn't shown on the Exclusive plan, since that plan doesn't include communications.
Email configuration
Here you set the Email sender name: the name guests see in their inbox when you send them an email from Invytly, for example "Giulia & Marco" or the name of your studio. If you leave it empty, your emails are signed "Invytly". Everything you need to know, including what guests see and where replies go, is in Setting up the email sender name.
WhatsApp phone number
This section appears only on the Glam plan and is marked as a beta feature. It shows the WhatsApp number currently connected to your project, or "WhatsApp number not set" if there isn't one, and the Connect phone number button starts the connection of your own number. The step-by-step guide, with what to prepare before you start, is in Connecting a WhatsApp number.
Support
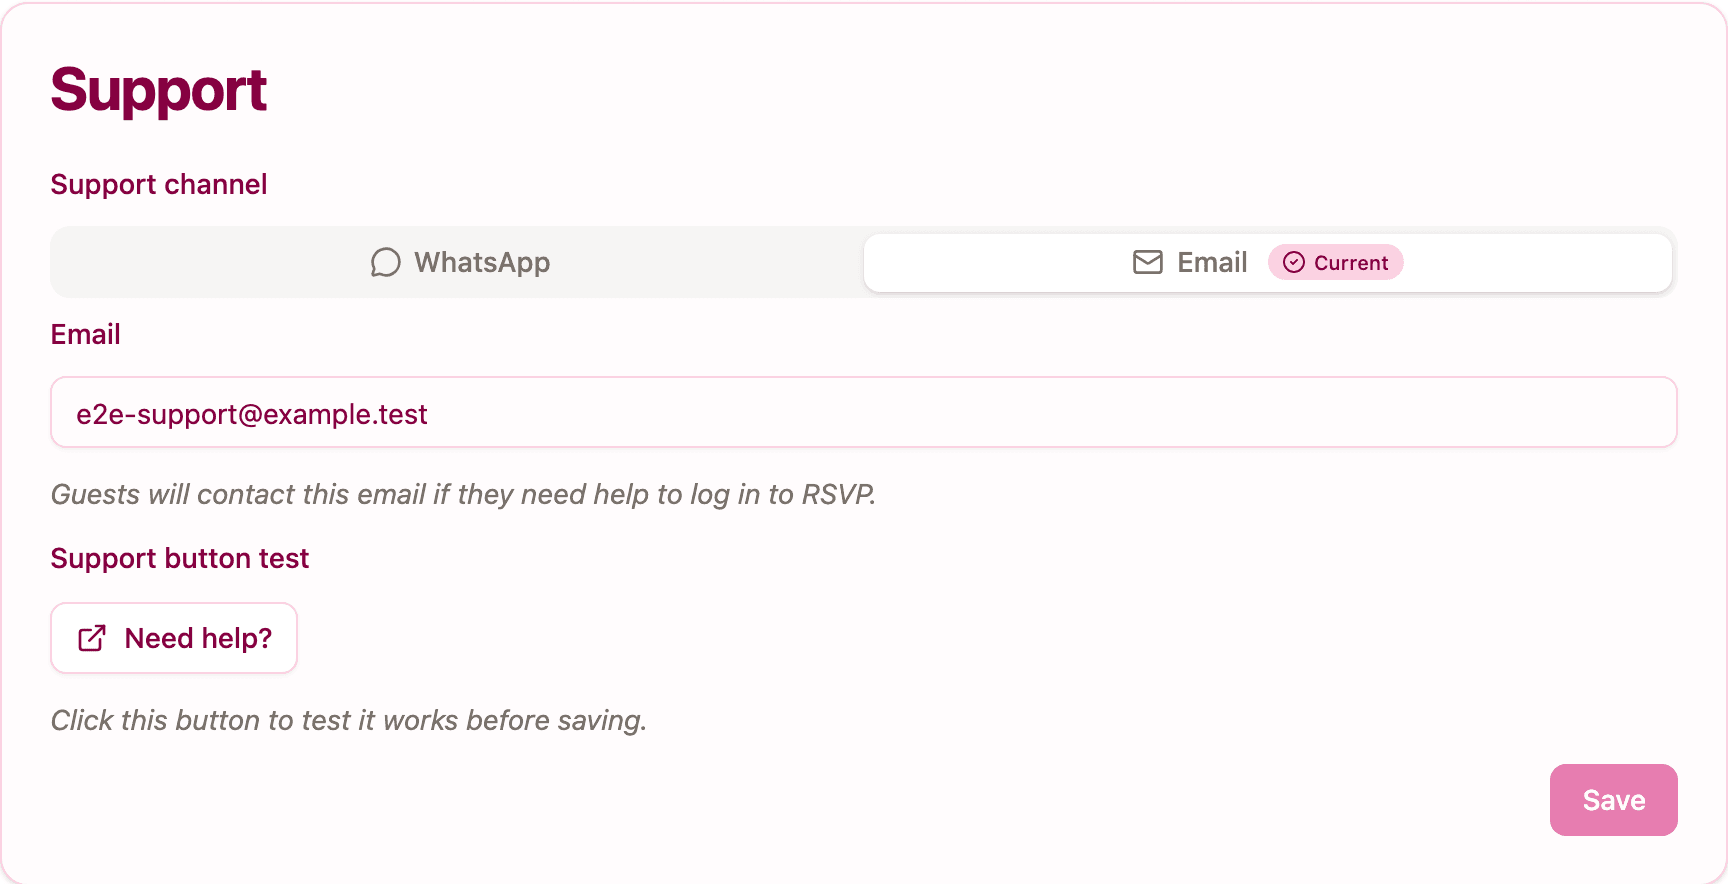
This card is easy to misread, so let's be clear: the Support card is not where you get help from Invytly. It sets the help contact for your guests.
Whatever you save here becomes a small "Having trouble accessing? Get help" link on the sign-in screen of your RSVP page. A guest who can't sign in (perhaps their name was saved with a different spelling) taps it and can write to the contact you chose.
To set it up:
- Under Support channel, choose WhatsApp or Email.
- Enter the phone number (for WhatsApp) or the email address (for Email).
- Click Need help? under Support button test. It opens the link exactly as guests will, so you can check it works before saving.
- Click Save.
The channel that is currently saved shows a Current badge, so you always know which one guests are using. If you leave the field empty and save, the link disappears from the RSVP page.
Tip: put the contact of whoever will actually answer guests in the weeks before the event. Usually that's you as the planner, but some couples prefer to handle it themselves. A WhatsApp number tends to get the quickest replies. Whatever you choose, always test it with Need help? before saving.
Delete project
The last card lets you delete the whole project. Deleting it removes the project and all related data: guests, questions, answers and everything else. This action can't be undone.
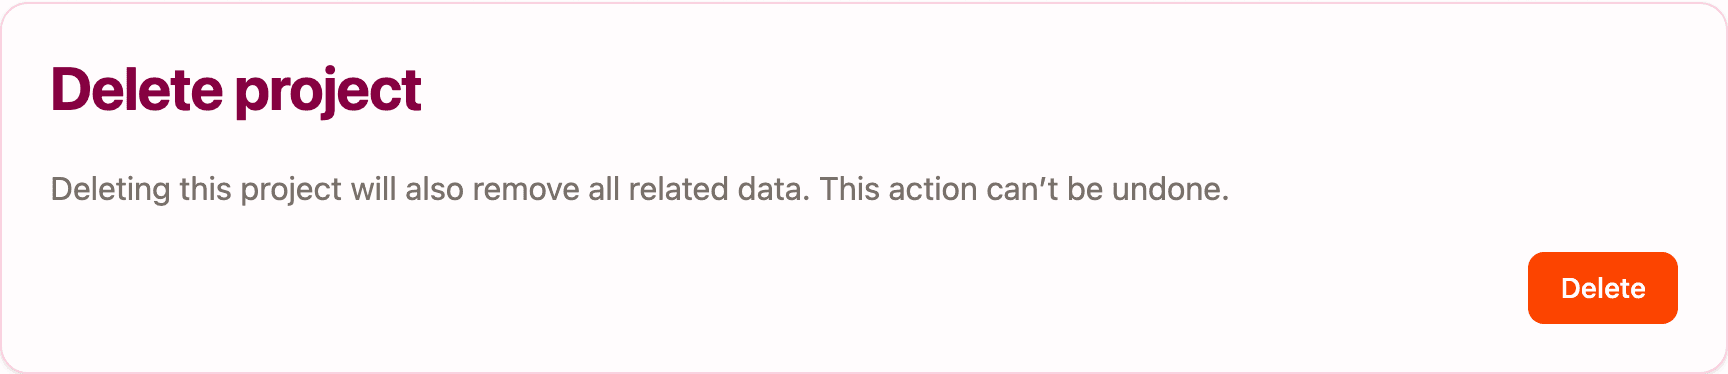
When you click Delete, Invytly asks you to confirm: "Are you sure you want to delete this project?". Only after you confirm is the project deleted. Only Admins can delete a project.
Warning: before deleting, download your guests' answers so you keep a copy. See Downloading your guests' responses.
Where to get help as a planner
If you need help with Invytly yourself, use the Help Center link at the bottom of the sidebar, which brings you to these articles, or write to Invytly support at support@invytly.com.